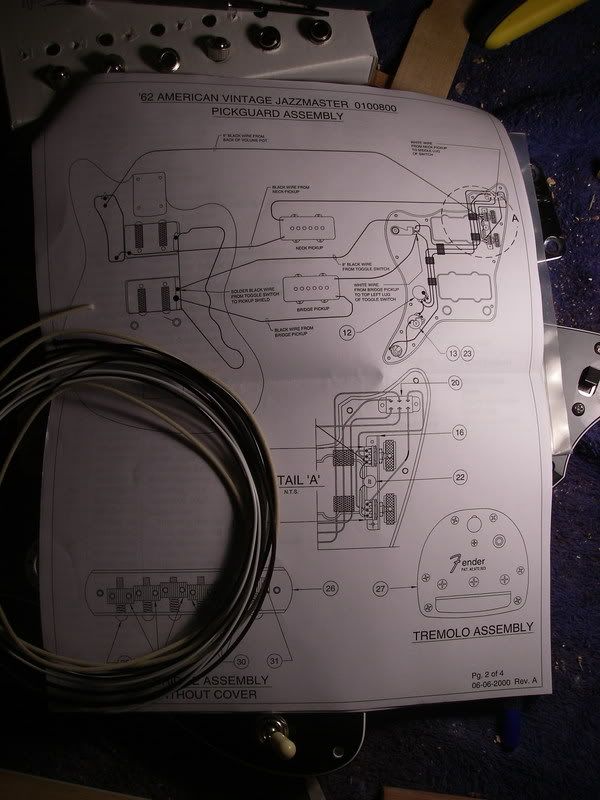
This Olde Guitar
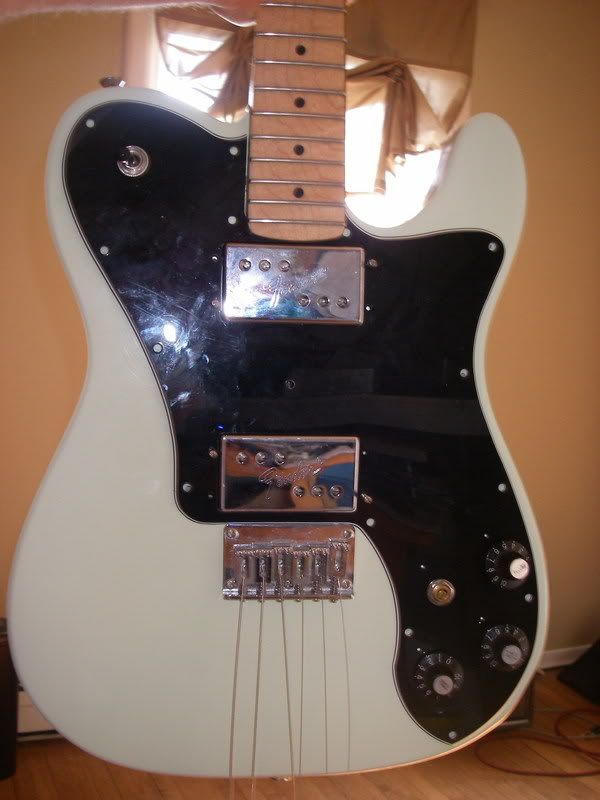
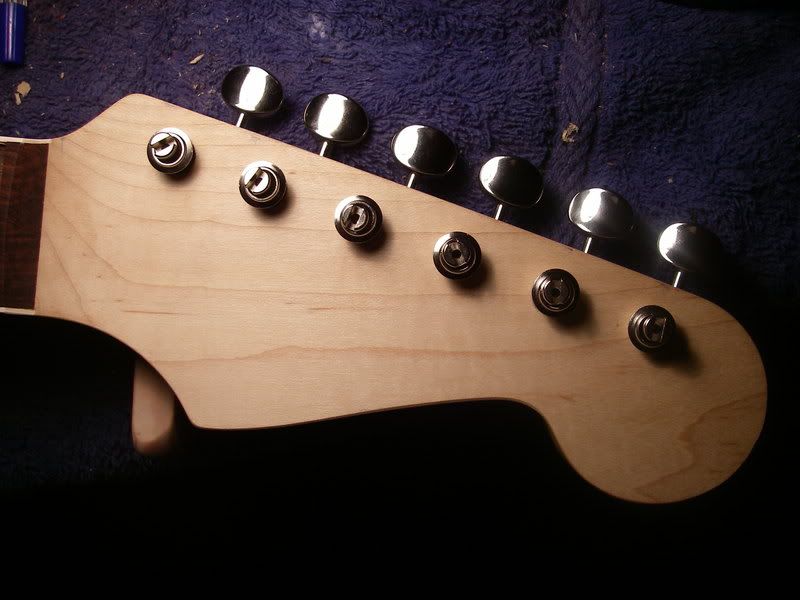
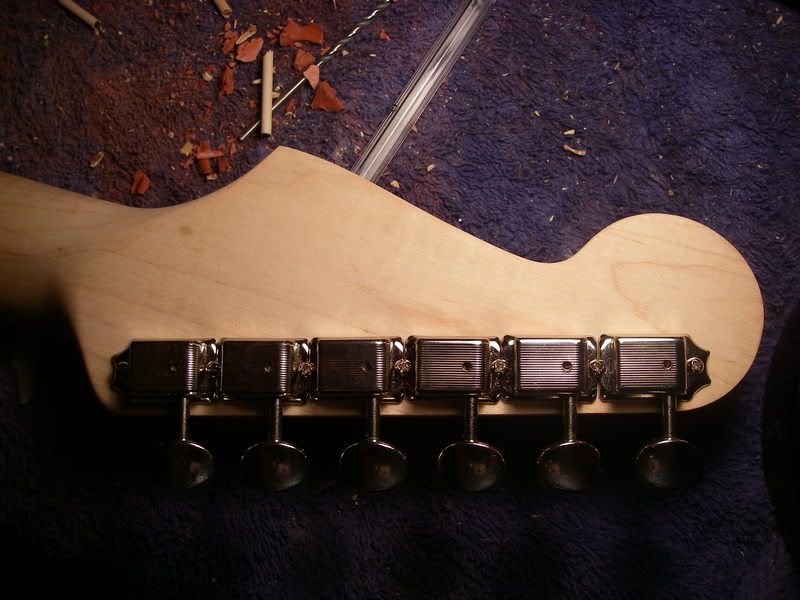
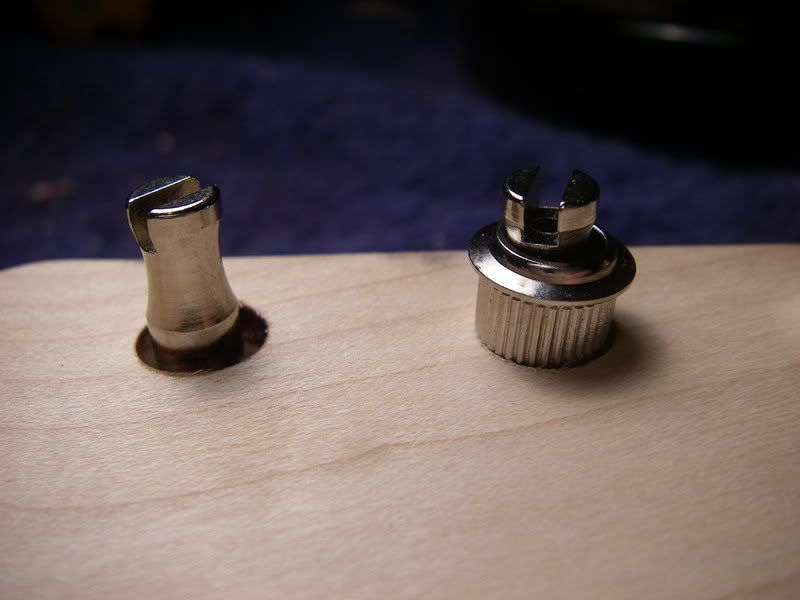
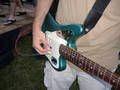
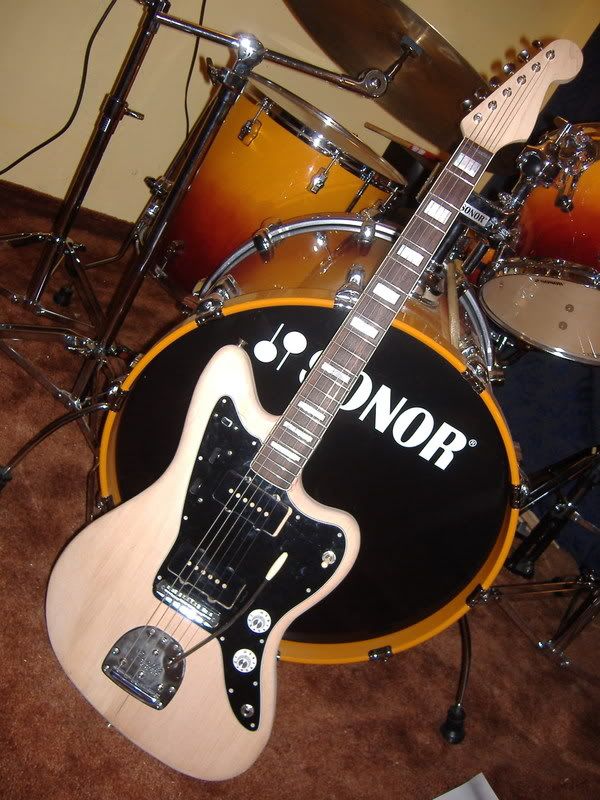
Last week I routed the neck pocket to get the standard 25 1/2 inch scale, got the neck on straight without stripping any screws (finally after 4 attempts), mounted the pickguard, strap buttons and tremolo. This thing is starting to resemble a guitar. I couldn't resist trying it on.....NERD!:
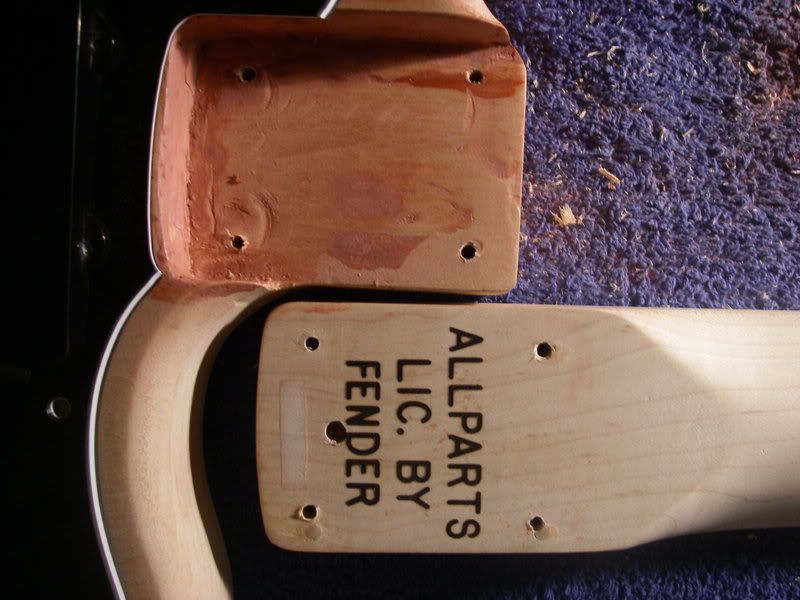
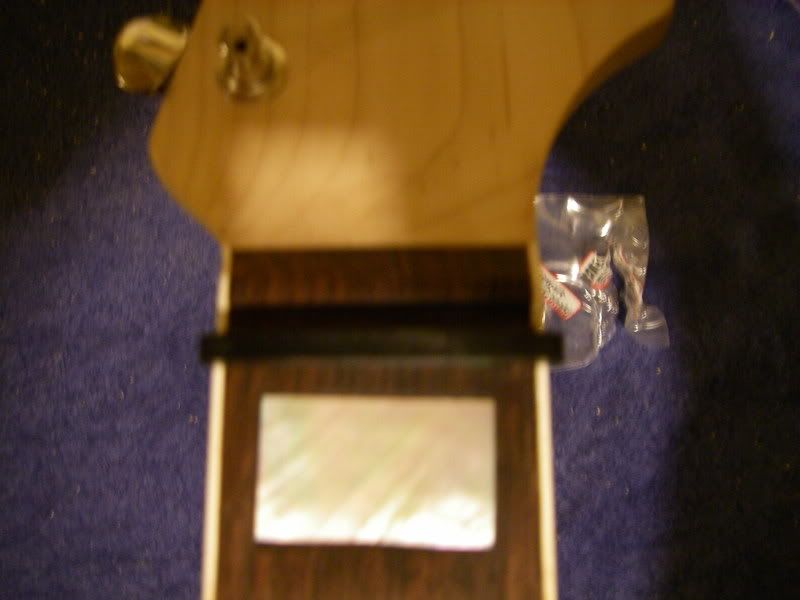
 This is the nut I ordered. Notice it's wider than the hole it's supposed to sit in. It also runs over the binding.
A little trim with the dremel gets it to fit:
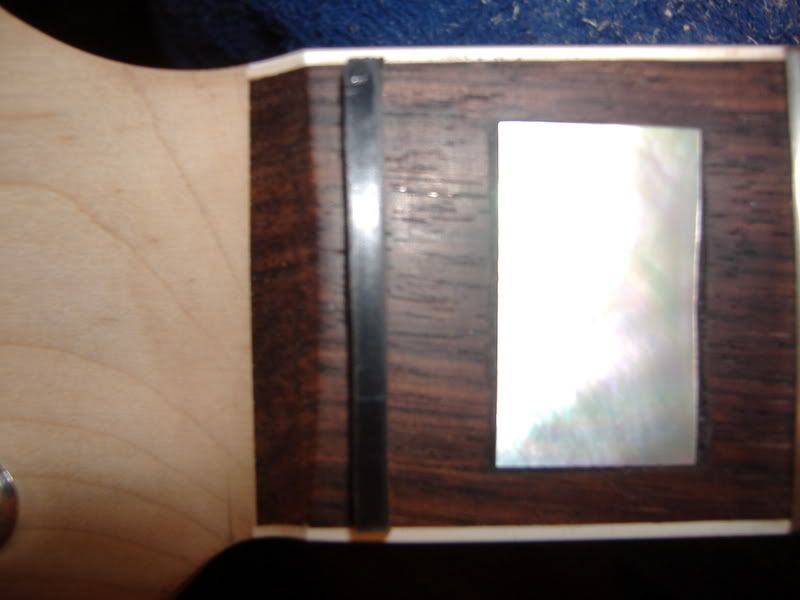
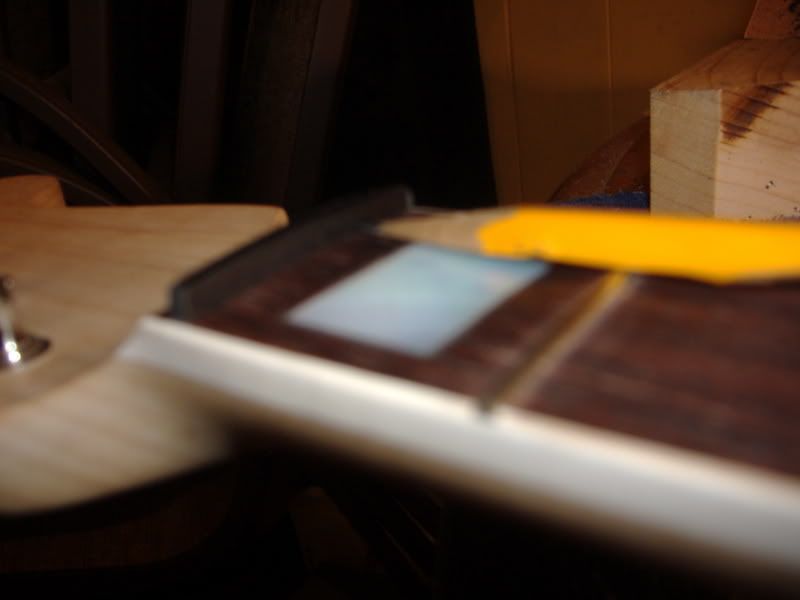
This guy showed me how to cut the nut (which I haven't quite finished yet)
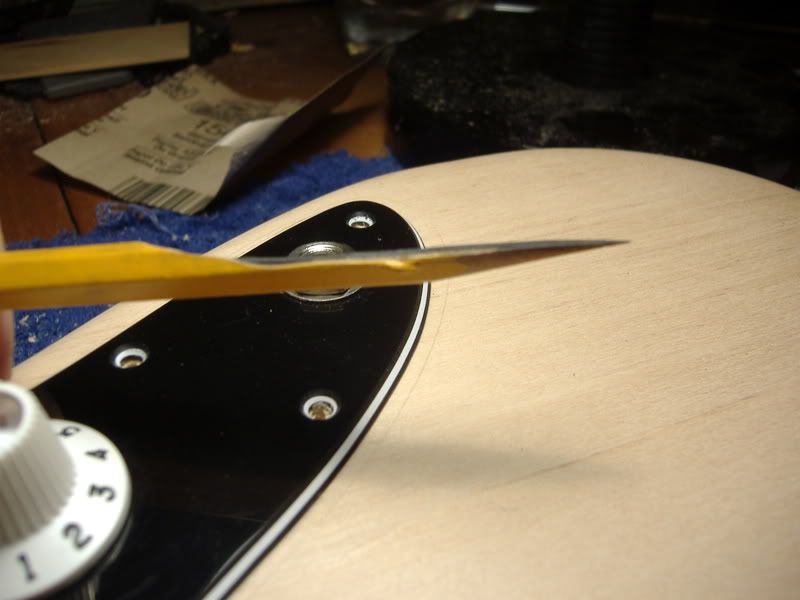
The pencil is for marking how deep to file the string slots. It lines up with the frets.
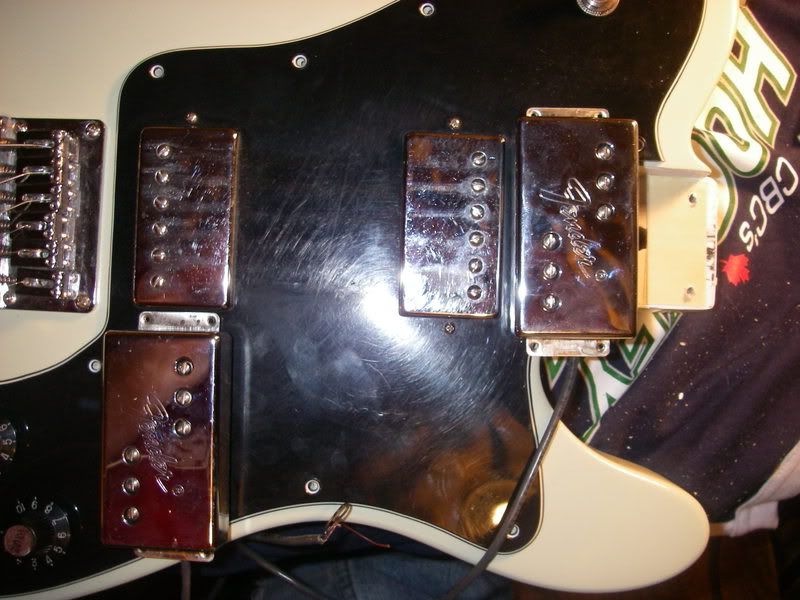
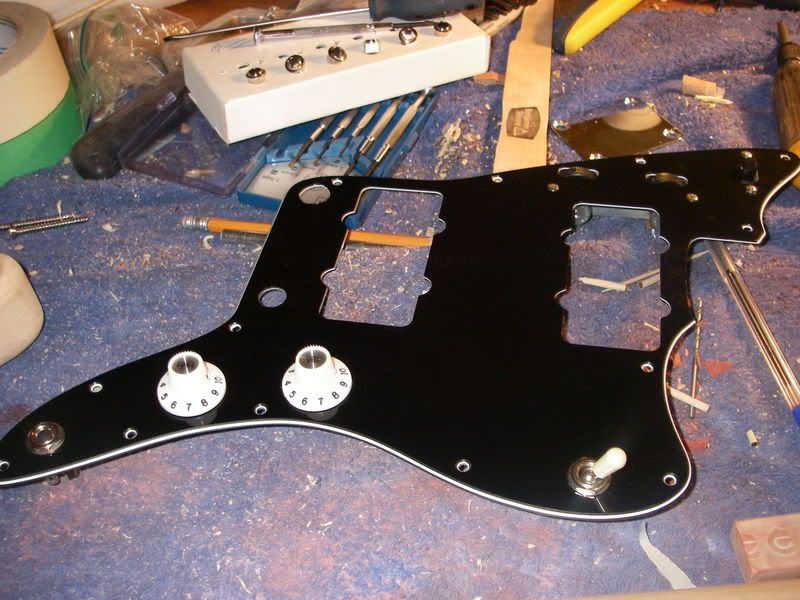
These aftermarket pickguards aren't too good. Exhibit A:
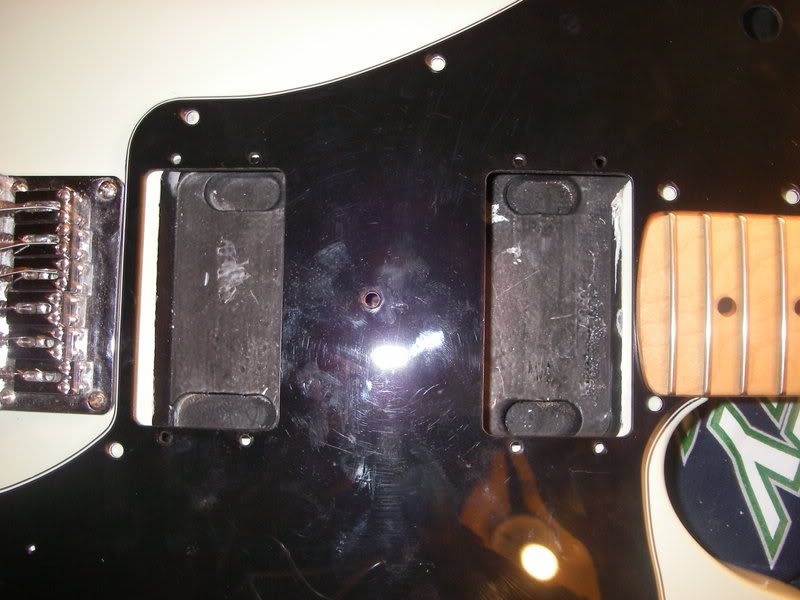
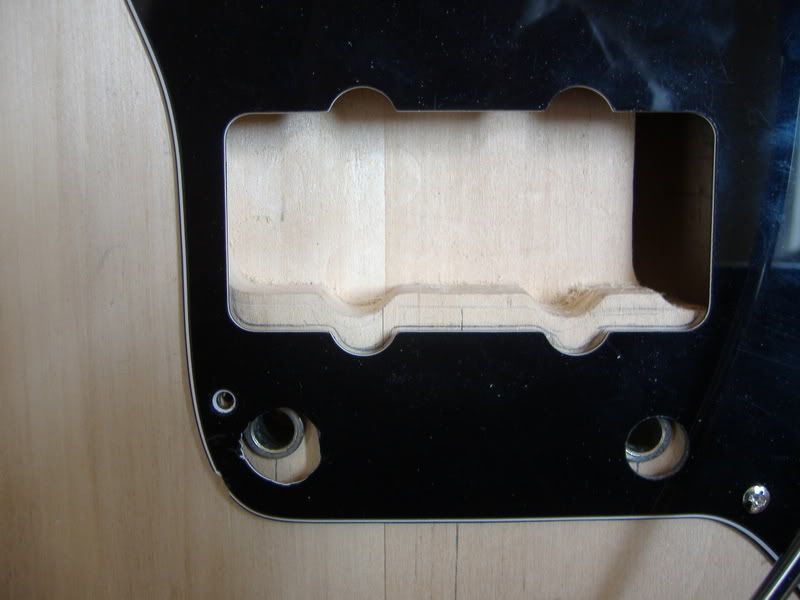 I routed out that large chunk in the bottom and enlarged the holes for the bridge posts.
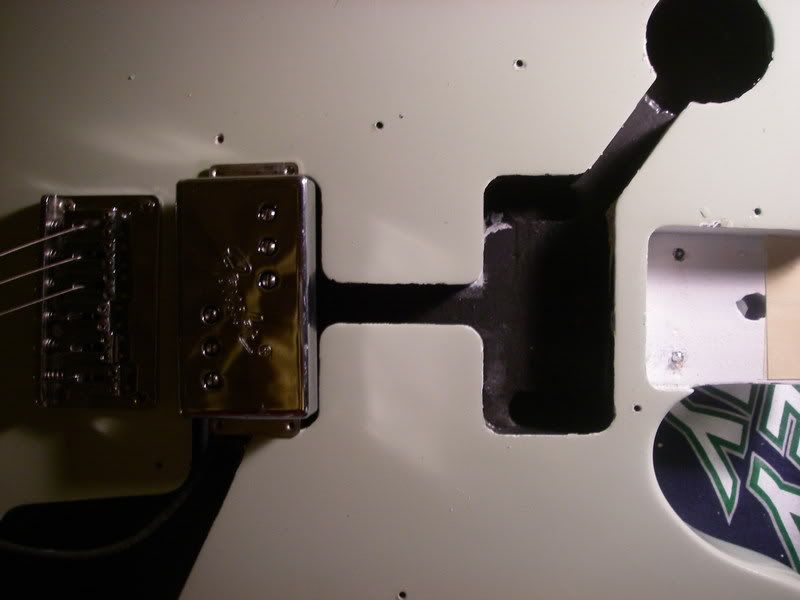
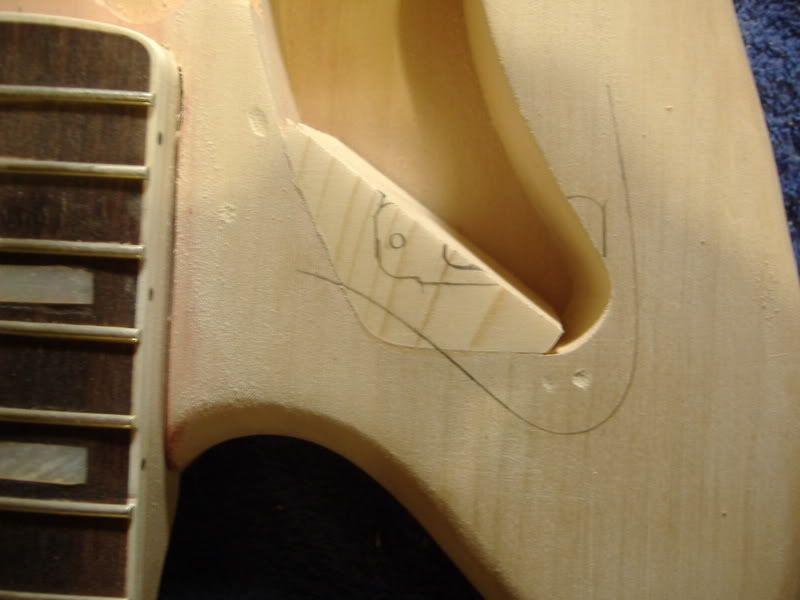
These aftermarket pickguards aren't too good Exhibit B: Check out the gap it left at the rhythm switch:
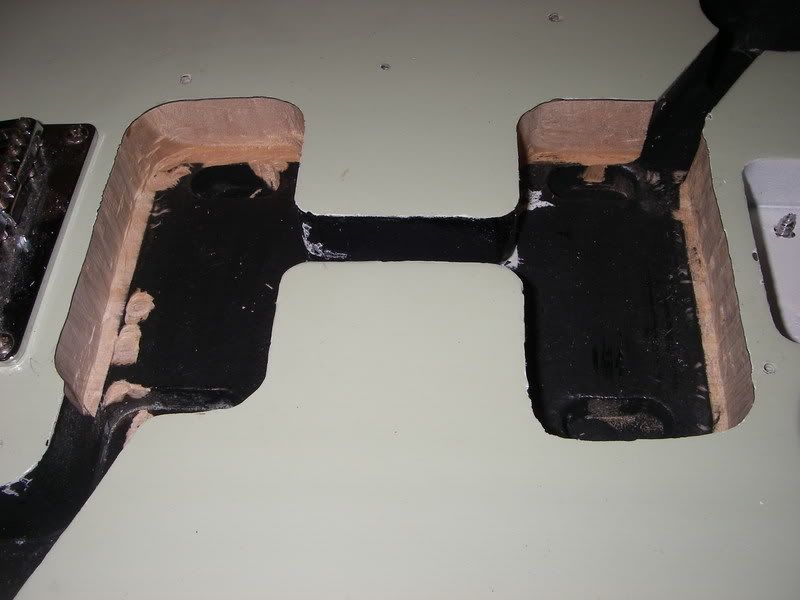
A drive out to Pointe Aux Pins and Uncle Evert to the rescue. He made this little patch for me. I glued it in and traced the outline of the switch that will sit in the rout:
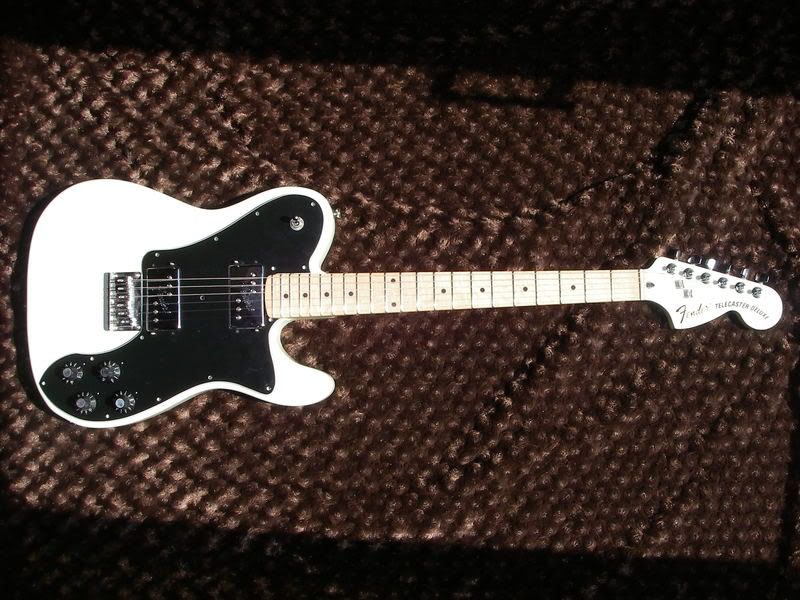
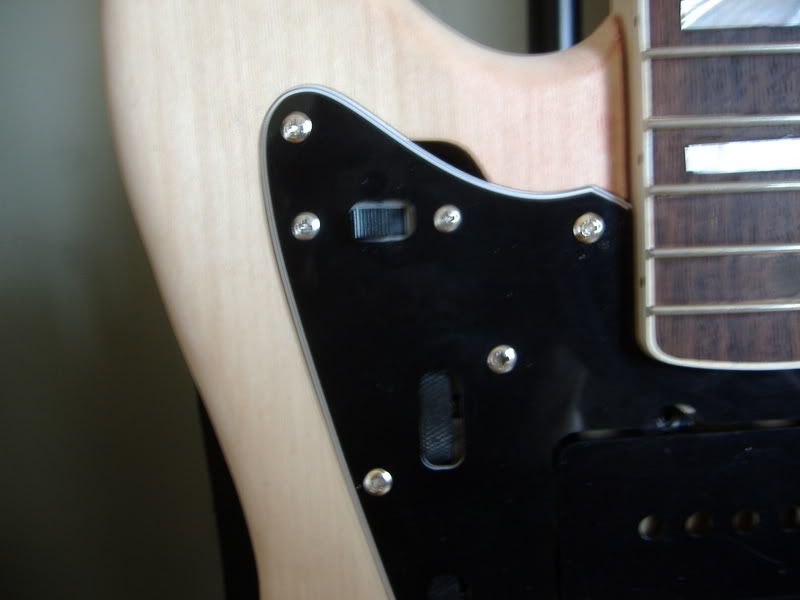
Here it is with the gap fixed. You shouldn't be able to tell once it's painted. Also....STRINGS!:
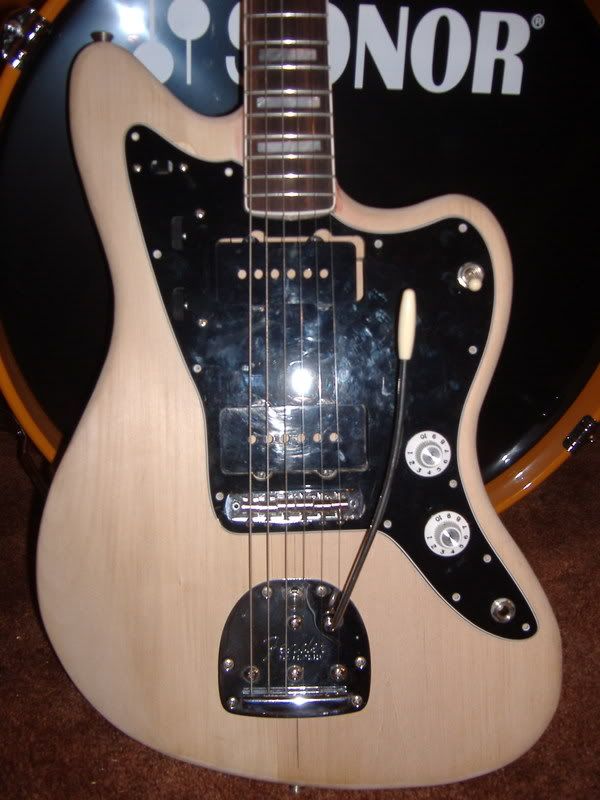
I played it today for the first time!!! The action was all whacked and there were no pickups but acoustically it's friggin' loud.
 I also installed the string tree. (No pics of that) All that's left is to wire it up and paint it. Sooooo close yet so far away...
Last week I routed the neck pocket to get the standard 25 1/2 inch scale, got the neck on straight without stripping any screws (finally after 4 attempts), mounted the pickguard, strap buttons and tremolo. This thing is starting to resemble a guitar. I couldn't resist trying it on.....NERD!:
This is the nut I ordered. Notice it's wider than the hole it's supposed to sit in. It also runs over the binding.A little trim with the dremel gets it to fit:
This guy showed me how to cut the nut (which I haven't quite finished yet)
The pencil is for marking how deep to file the string slots. It lines up with the frets.
These aftermarket pickguards aren't too good. Exhibit A:
I routed out that large chunk in the bottom and enlarged the holes for the bridge posts.These aftermarket pickguards aren't too good Exhibit B: Check out the gap it left at the rhythm switch:
A drive out to Pointe Aux Pins and Uncle Evert to the rescue. He made this little patch for me. I glued it in and traced the outline of the switch that will sit in the rout:
Here it is with the gap fixed. You shouldn't be able to tell once it's painted. Also....STRINGS!:
I played it today for the first time!!! The action was all whacked and there were no pickups but acoustically it's friggin' loud.
I also installed the string tree. (No pics of that) All that's left is to wire it up and paint it. Sooooo close yet so far away...Labels: guitars
posted by Ludger Sylbaris at 11:23 PM
0 comments
![]()